caodesign
posted by wiL-shAkes @ 2:02 AM
2 comments
![]()
![]()
...a place where concept becomes design, and design (hopefully) becomes reality...
posted by wiL-shAkes @ 1:29 AM
0 comments
![]()
![]()
objective:
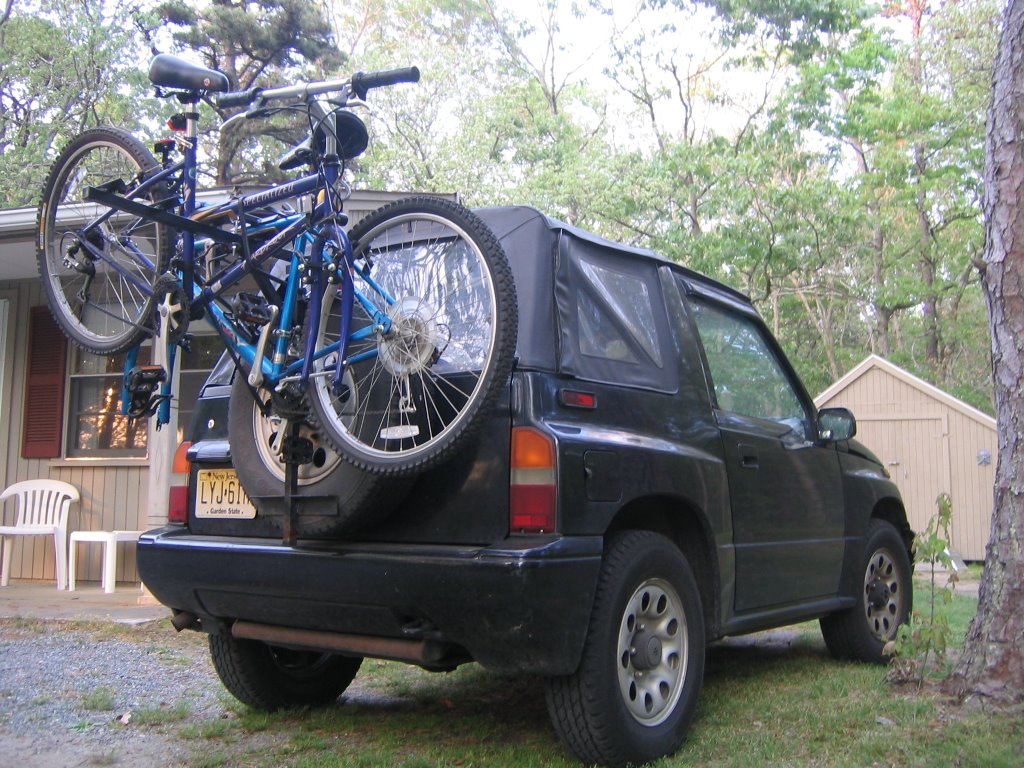
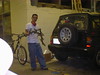
it was my first nyc bike tour in 2002, and joe, nuno, and i decided to take upon the 42 miles route through all the boroughs of nyc. but we also wanted to just bring one car with all of our bikes. joe had a bike rack that holds 2. not good enough. so i decided to make a bike rack that’ll hold not 2, not 3, but 4! i figured, since my car is a 4 seater, then my bike rack should be a 4 seater too! other spare tire mounts easily costs over $100. take a wild guess as to how much i'd like to spend? (hint = $0).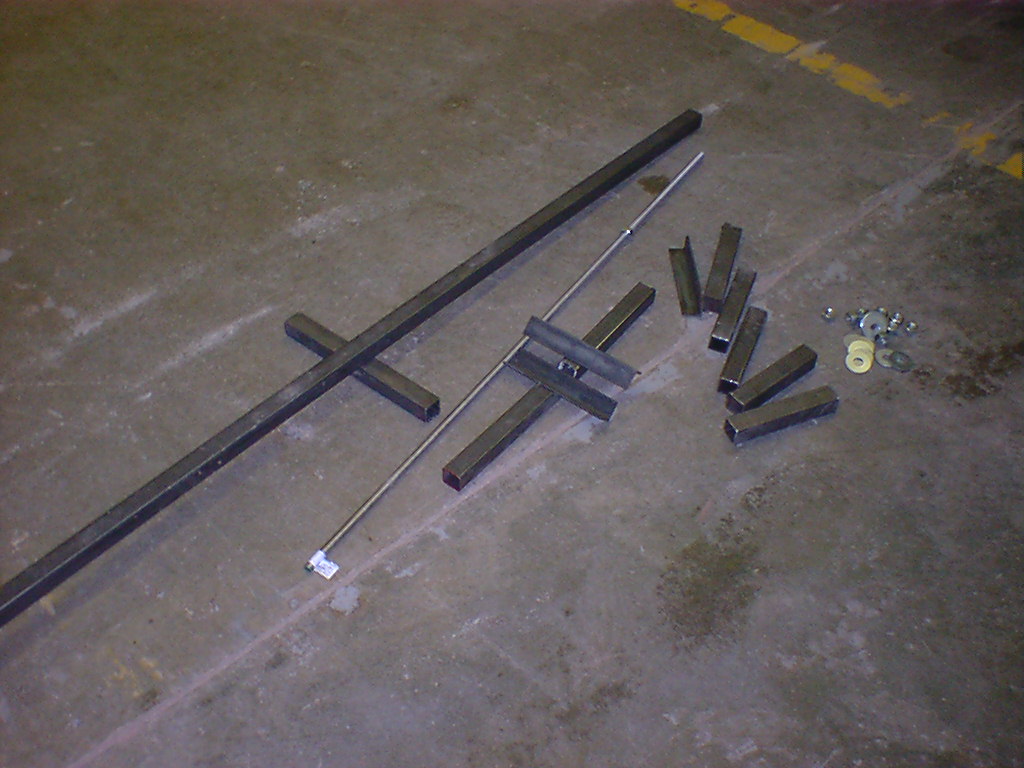
challenges/procedure:
do it in 1 night! then mount it, then test it, then haul my @ss (with the bikes) to nuno’s place in staten island at a decent time of the night so as we can wake up the next morning at 6am to start the expedition.
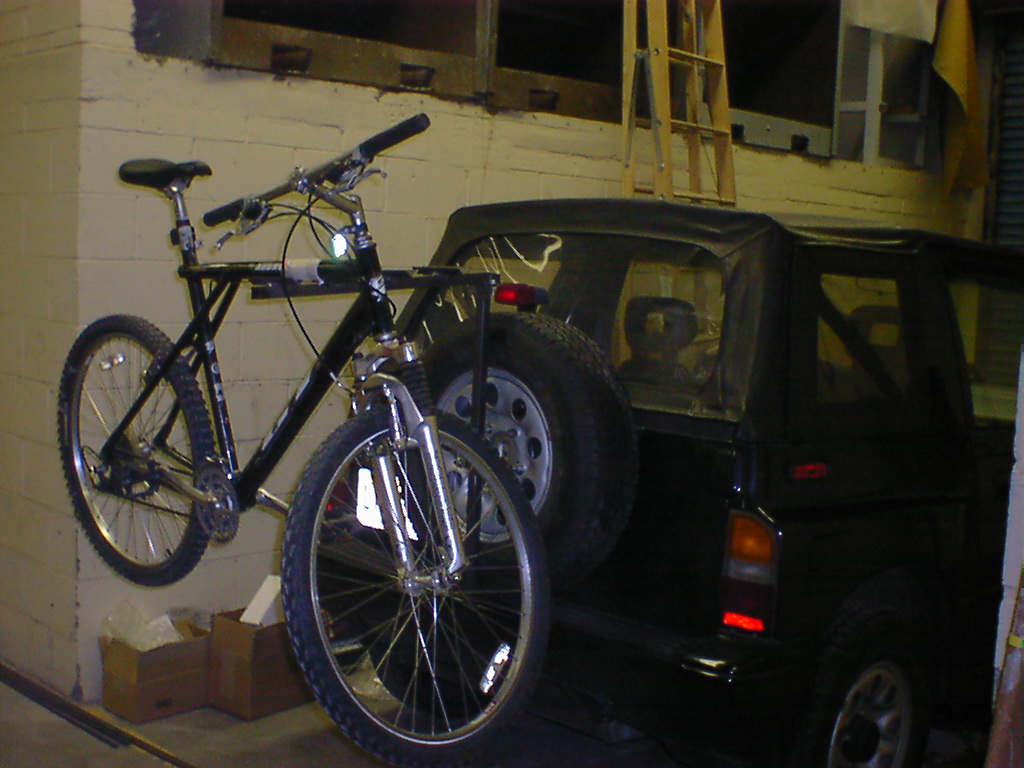
i had it all thought out, how i wanted it to look, where it’ll mount to, etc. luckily, there were plenty of left over steel in the concrete lab from a recent bridge building competition. the main body of the bike r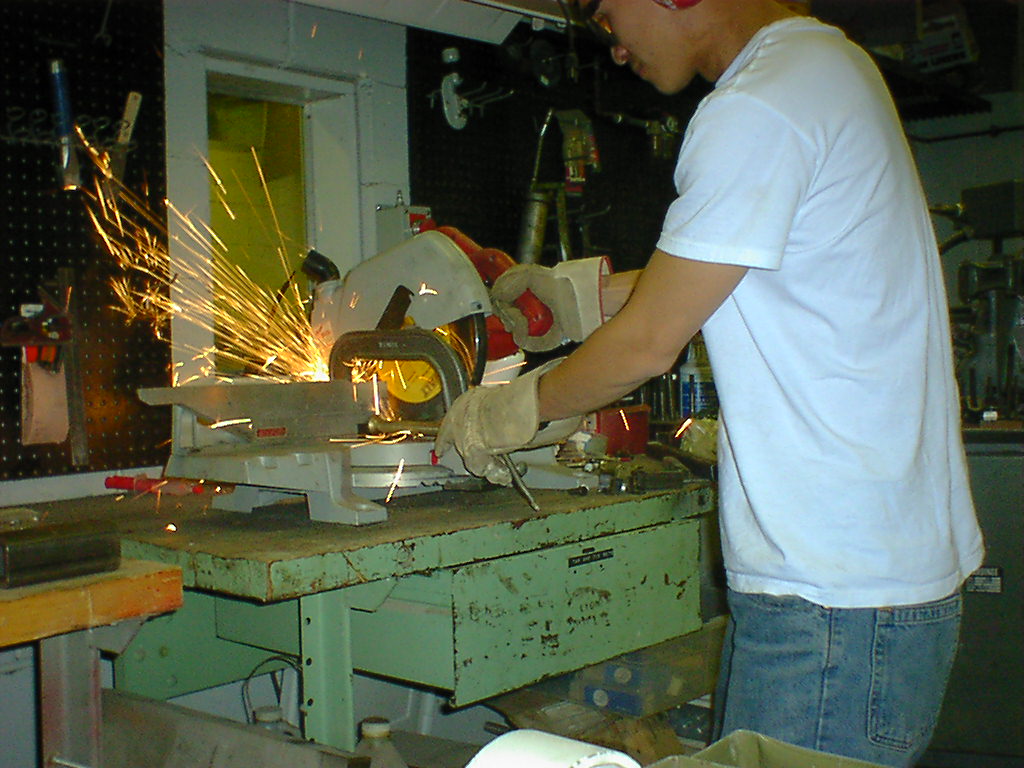 ack will mount tightly to the spare wheel. the part that juts out and actually holds the bikes will be removable. hence, it’ll need a connection. hence, it’ll take time to do connections. other connections are the clamping seats made out of steel angles that actually clamps and holds down the bikes. connections! they’re great, but they cost a lot, in time, and in money! i spent 80% of the time with these detailed connections!
once all parts were cut, drilled, temporarily laid out and clamped down, i went to town with the welding. oh, the fumes just get me high. (if you know me, it’ll explain a lot of things….alot).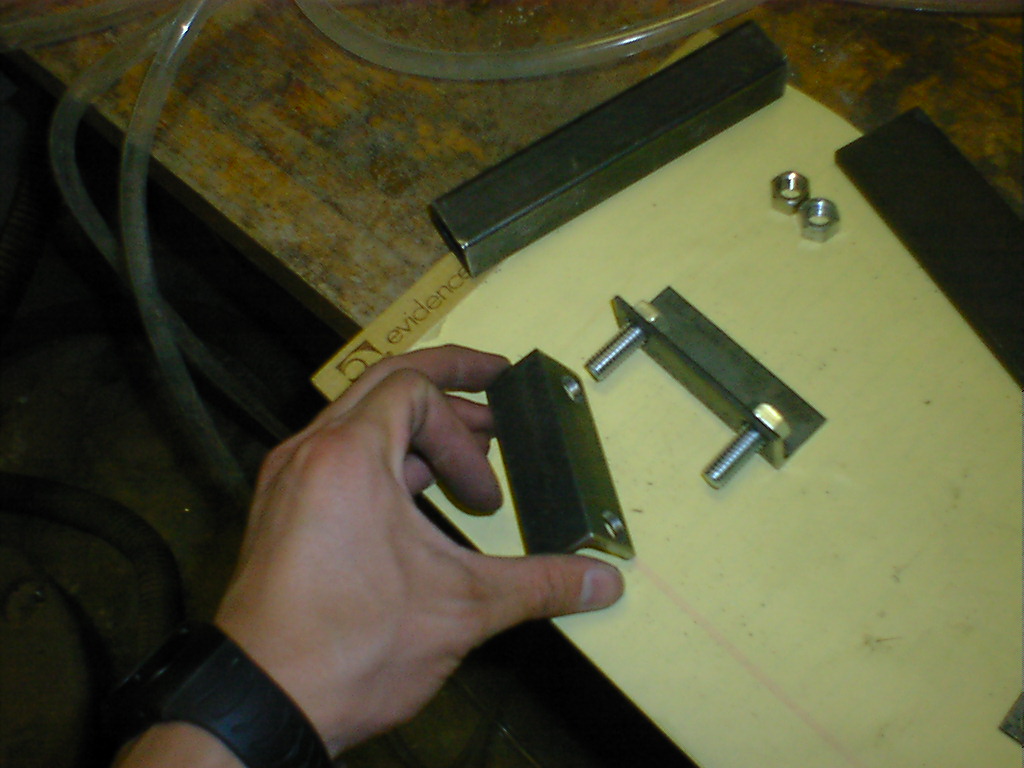
features:
it can hold up to 4 bikes, though, i’ve really only went up to 3. and that was only once! i decided recently to cut off the last two, and just make it a 2 seater. the long jutting arm makes it a head hitting hazard. in fact, it has happened. (that’ll further explain a lot of things also). and poor jennie hit her head pretty hard just recently also.
most connections features nuts and bolts of 1 size so that you don’t have to use too many tools.
summary:
it served it’s job of carrying the 3 bikes for that one day. i’ve used it often since, but only for up to 2 bikes. so i’m going to cut it down. also, during mounting and clamping down the bikes, i need to use tools to screw down the nuts, washer, and lock washers. too many parts! i gotta use wing nuts or something. things could be a lot simpler.
project bike rack: to be further improved!
posted by wiL-shAkes @ 11:38 PM
1 comments
![]()
![]()
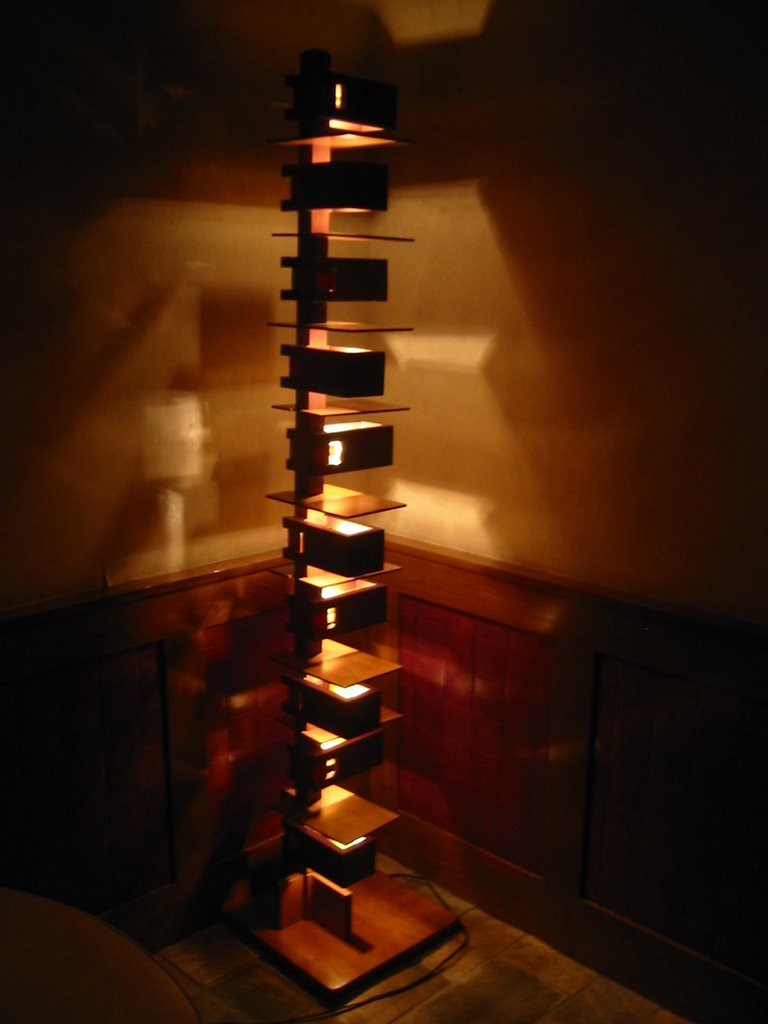
 one.
one.
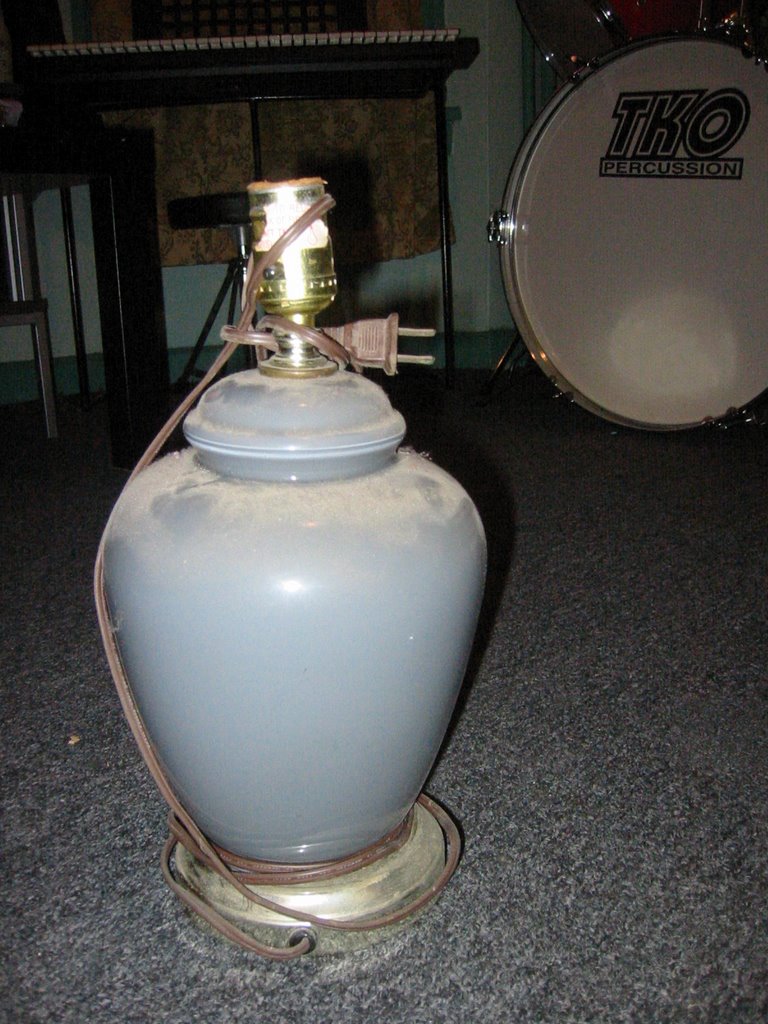
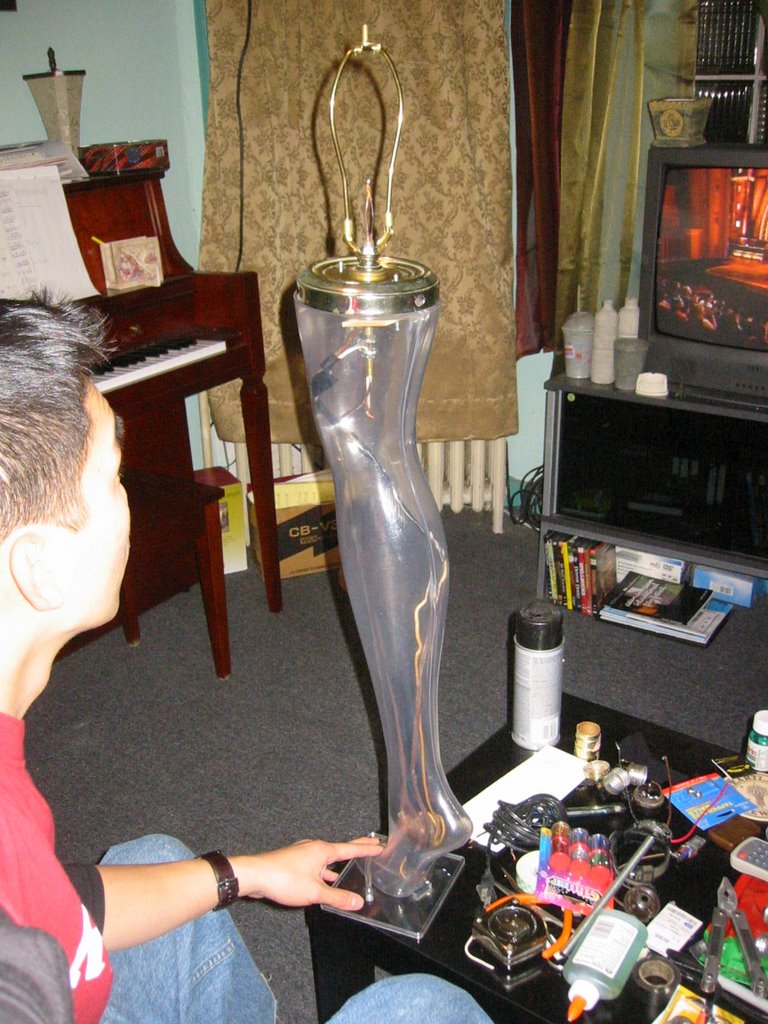
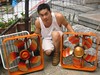
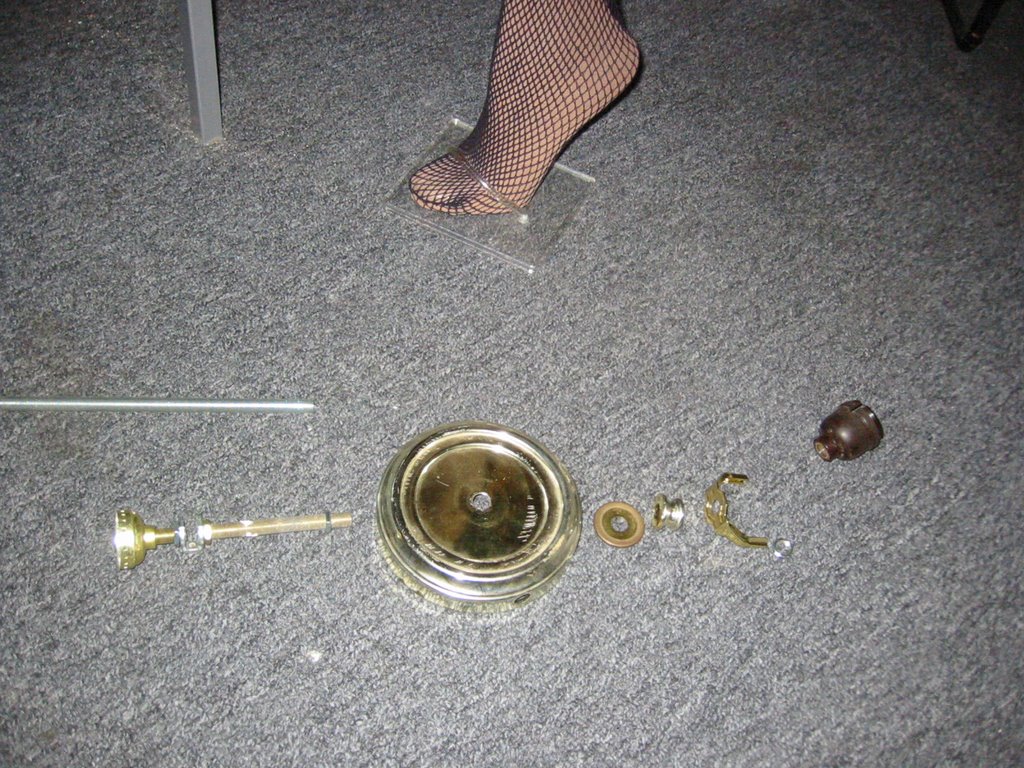 salvage any junk in my basement, and also $1 stores.
 also purchased a 3-way switch from a hardware store.
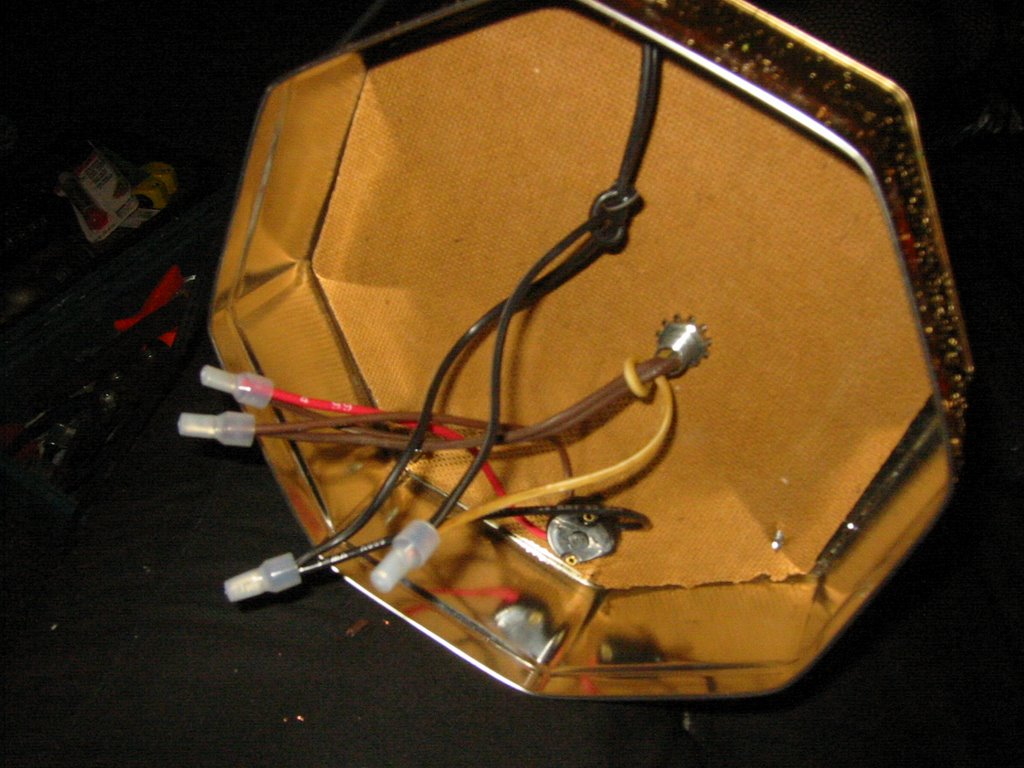 then finally, the lamp shade atop all.
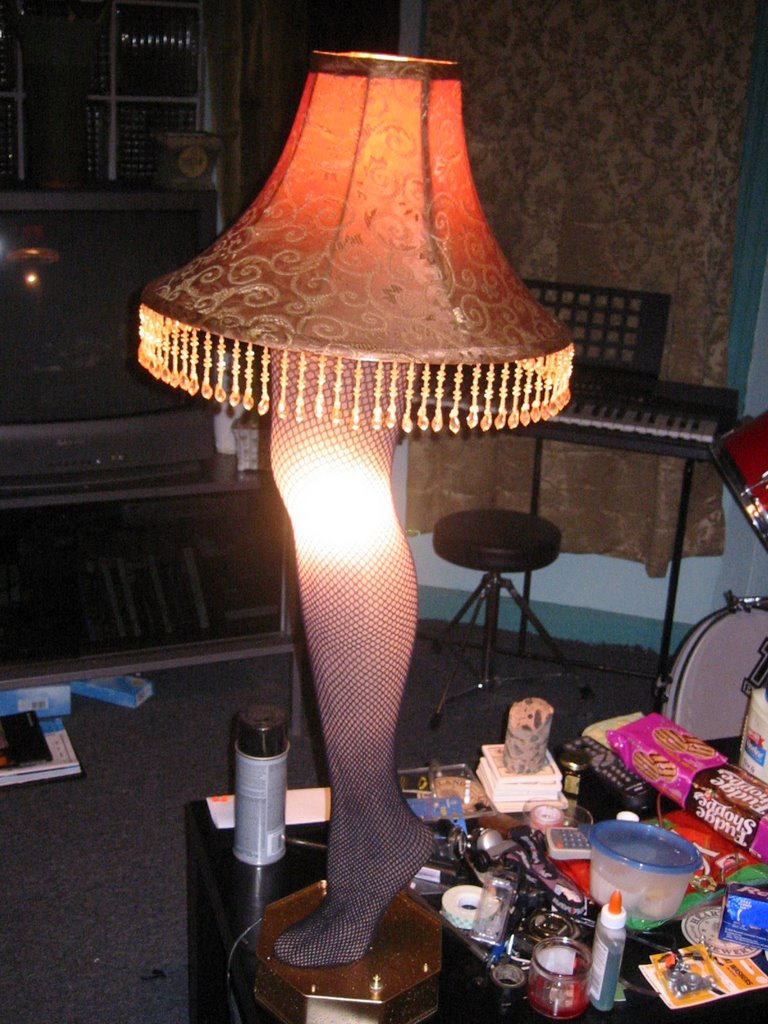
 be exchanged. We were in a restaurant, and when my gift was revealed, heads were turned to our table. We plugged it in, and the first switch brought on a wave of “oooh”. the 2nd switch had the crowd going, “ahhhh”. Then the 3rd switch just exploded into a mixture of laughs and applause. Vicki was happy. The table was happy. And the crowd well entertained.
posted by wiL-shAkes @ 11:14 PM
1 comments
![]()
![]()
objective:
posted by wiL-shAkes @ 10:13 PM
0 comments
![]()
![]()
"Find out how to squeeze every amp out of both of these goddamn machines!"

email me @ wolfiebites@yahoo.com